How to set up an HTTPS web server for SignageCMS X server
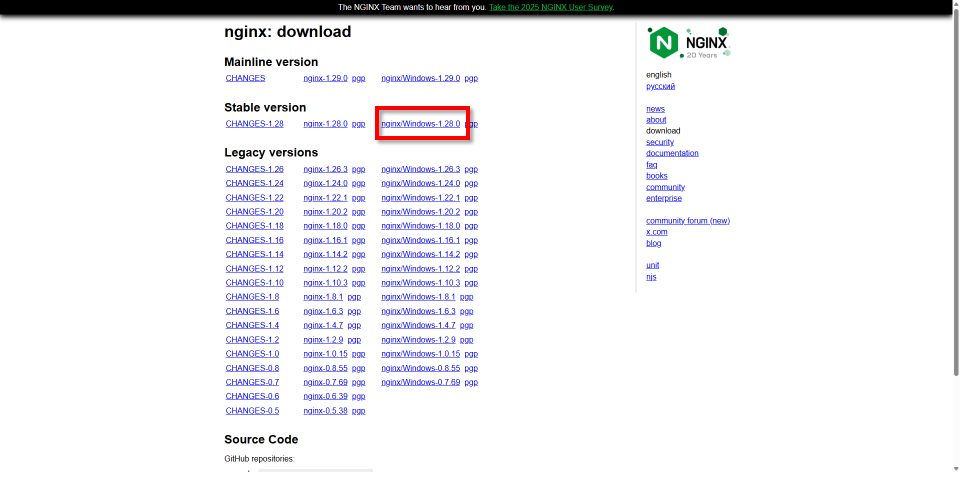
1. Download the Nginx Web Server
Visit the official website to download the stable version for Windows:
👉 https://nginx.org/en/download.html
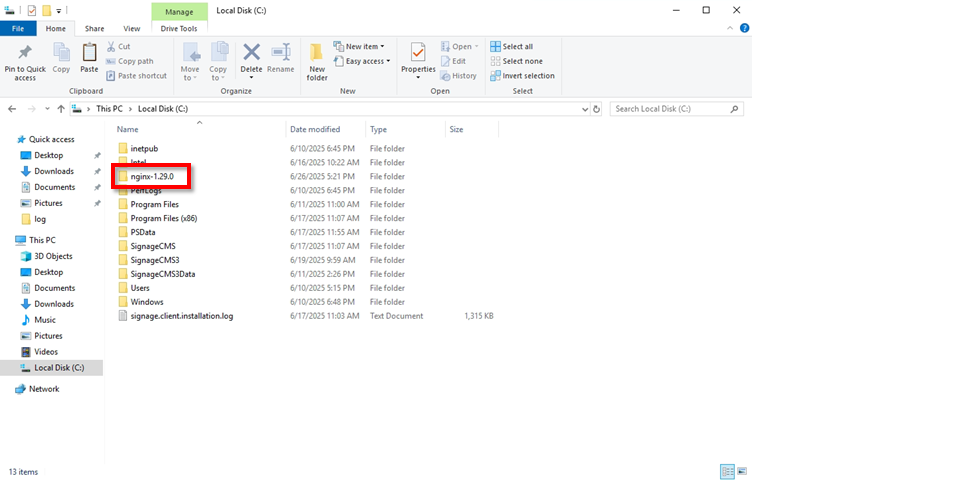
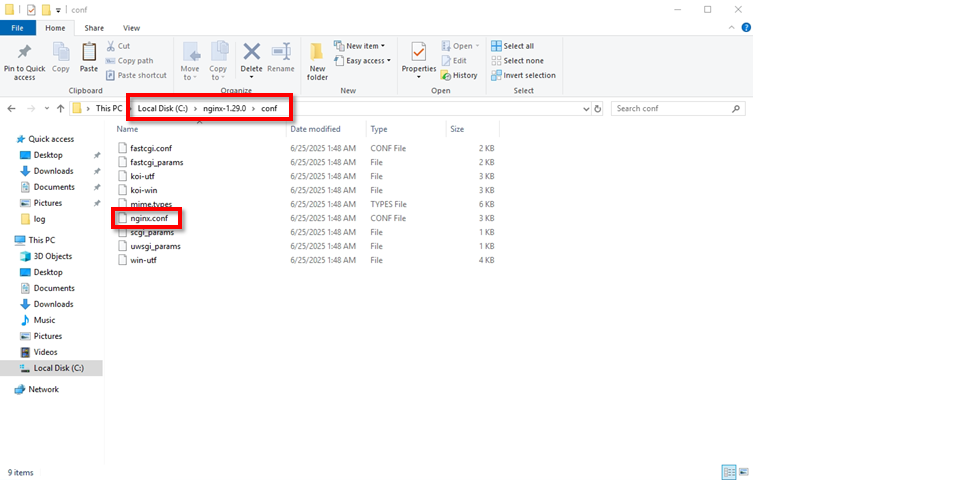
2. Extract Files
Unzip the downloaded archive and place the folder in the C:\ directory.
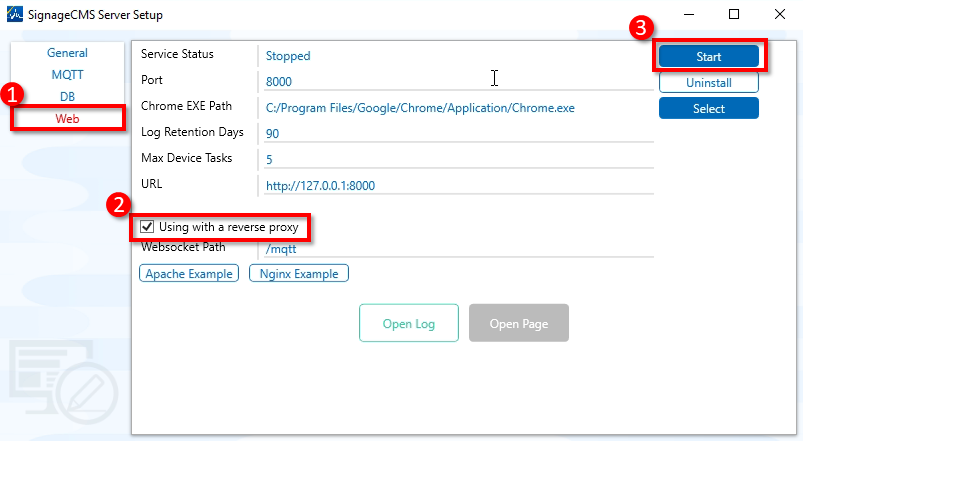
3. Launch SignageCMS X Web Service
Open SignageCMS X Server Setup, go to the Web tab, select Using with a reverse proxy, then click Start to launch the web service.
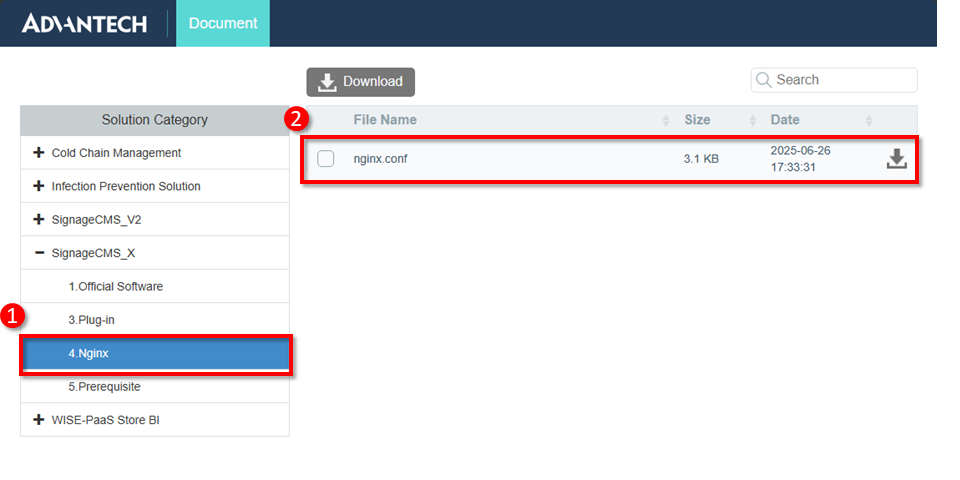
4. Download the Nginx Configuration File
Download the custom nginx.conf file designed for SignageCMS Server from the following link:
👉 https://download.wise-apps.com/download
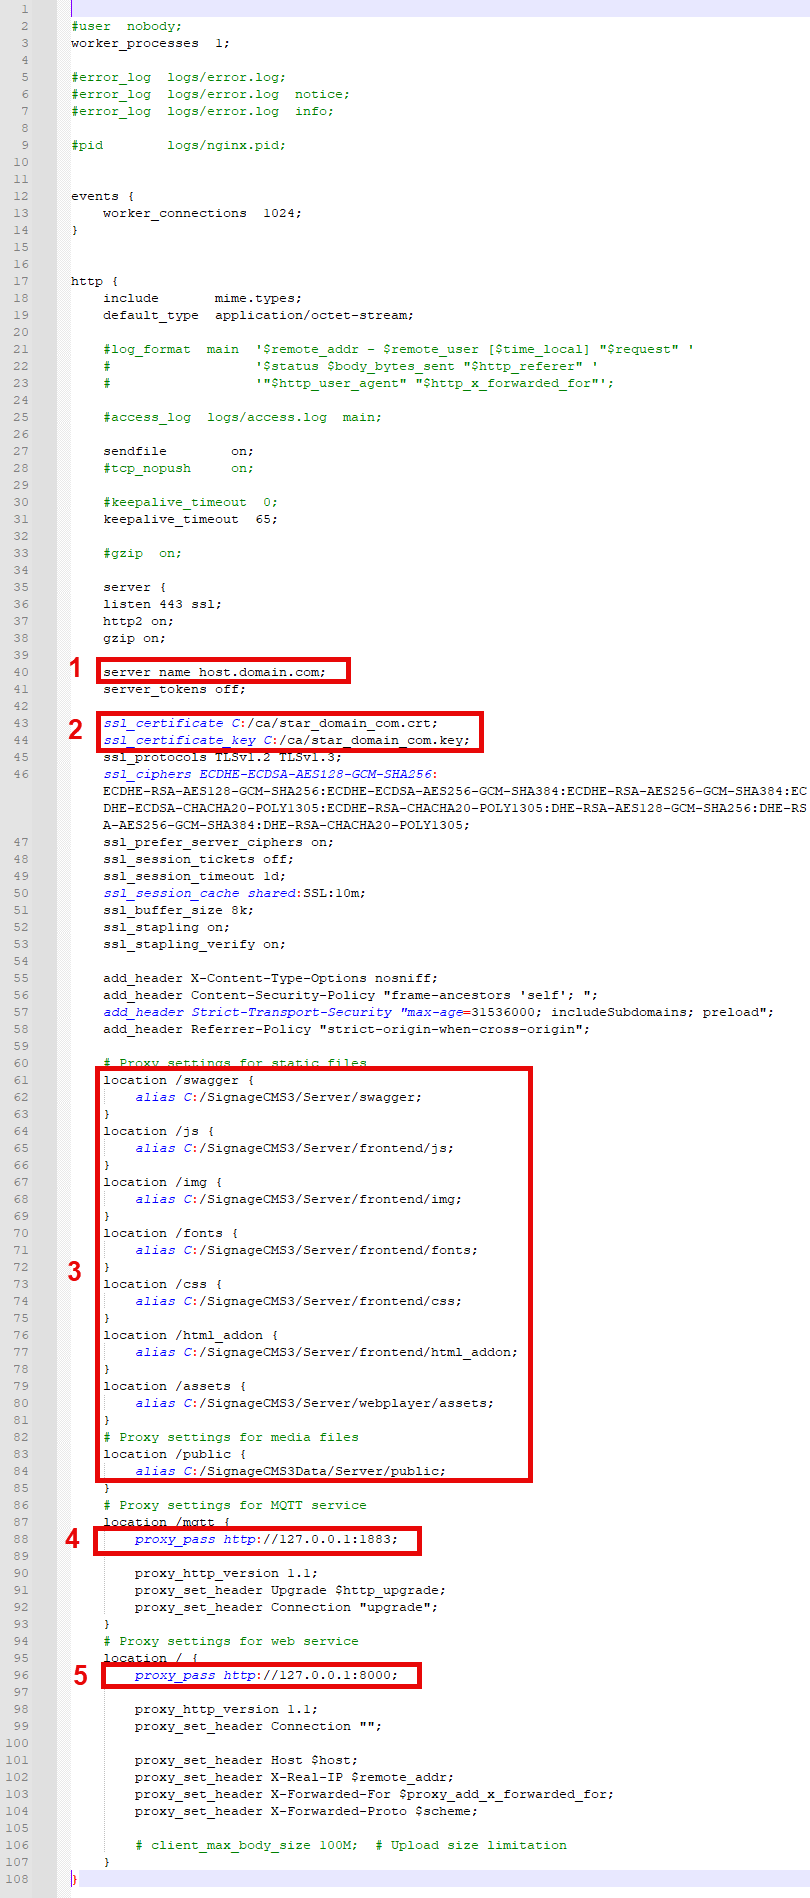
5. dit the Configuration File
Open nginx.conf using a text editor and modify the following parameters:
- Line 40: Replace host.domain.name with your actual domain name.
- Lines 43–44: Update the SSL certificate and private key paths to match your own files. If your certificate does not support TLSv1.2 or TLSv1.3, please download the correct version from your certificate authority.
- Lines 61–84: The default SignageCMS Server installation path is recommended. If you've changed the path, update it accordingly.
- Line 88: Update the HTTP IP and MQTT Port used by SignageCMS Server. Do not change the IP address. If the port number was changed, reflect the new value here.
- Line 96: Update the HTTP IP and Web Port used by SignageCMS Server. Again, do not change the IP address. Update the port number only if it has been changed.
- Save the file after editing.
6. Replace the Original Configuration
Overwrite the default nginx.conf file with the one you just edited.
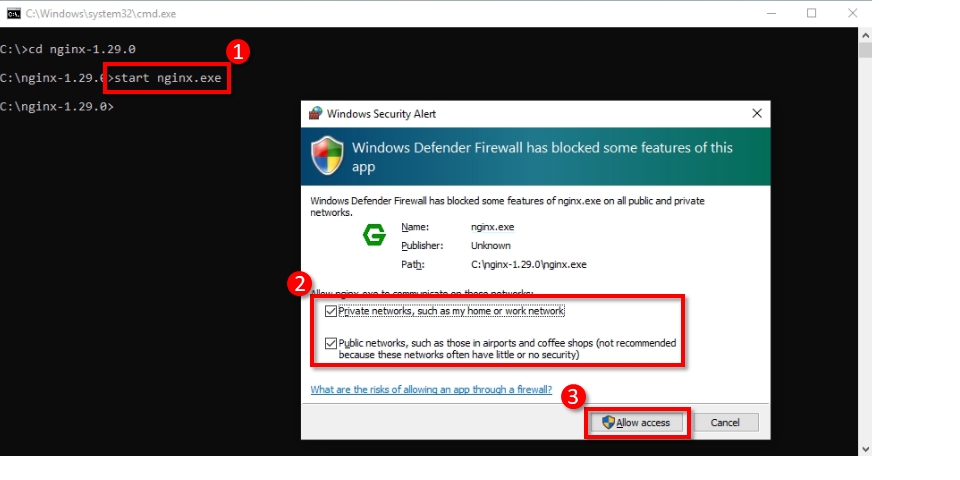
7. Start Nginx
Open the Command Prompt (CMD), navigate to the Nginx installation directory, and run the "start nginx" command to launch the web service.
The first time you run it, Windows may prompt a firewall access dialog. Please select both Private Network and Public Network, then click Allow Access.
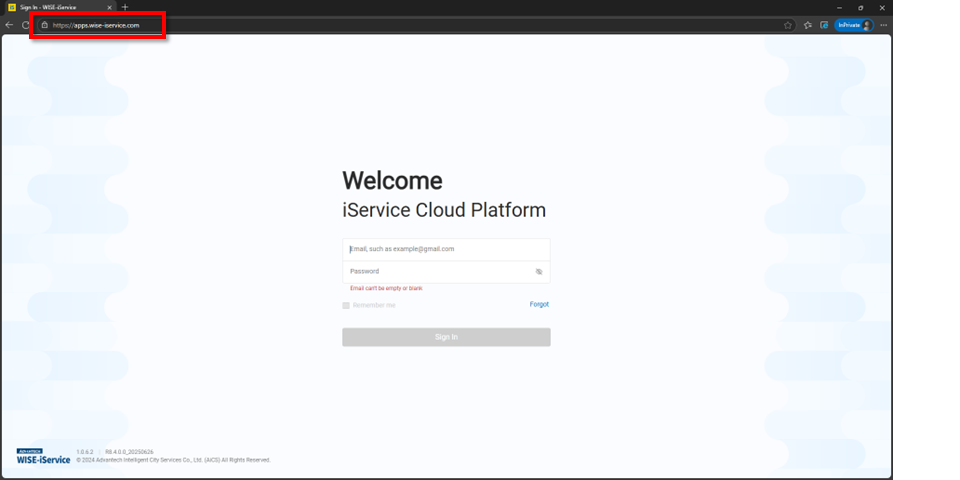
8. Verify the Installation
Open a browser and enter the domain you configured in nginx.conf. You should now see the SignageCMS Server web interface.
✅ Congratulations! Your certificate setup is complete.